At this point, let’s provide a brief summary of shonMesh’s capabilities. This case gives an idea how to work with shonMesh.
Geometry review
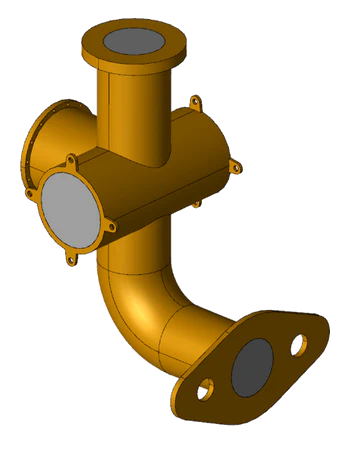
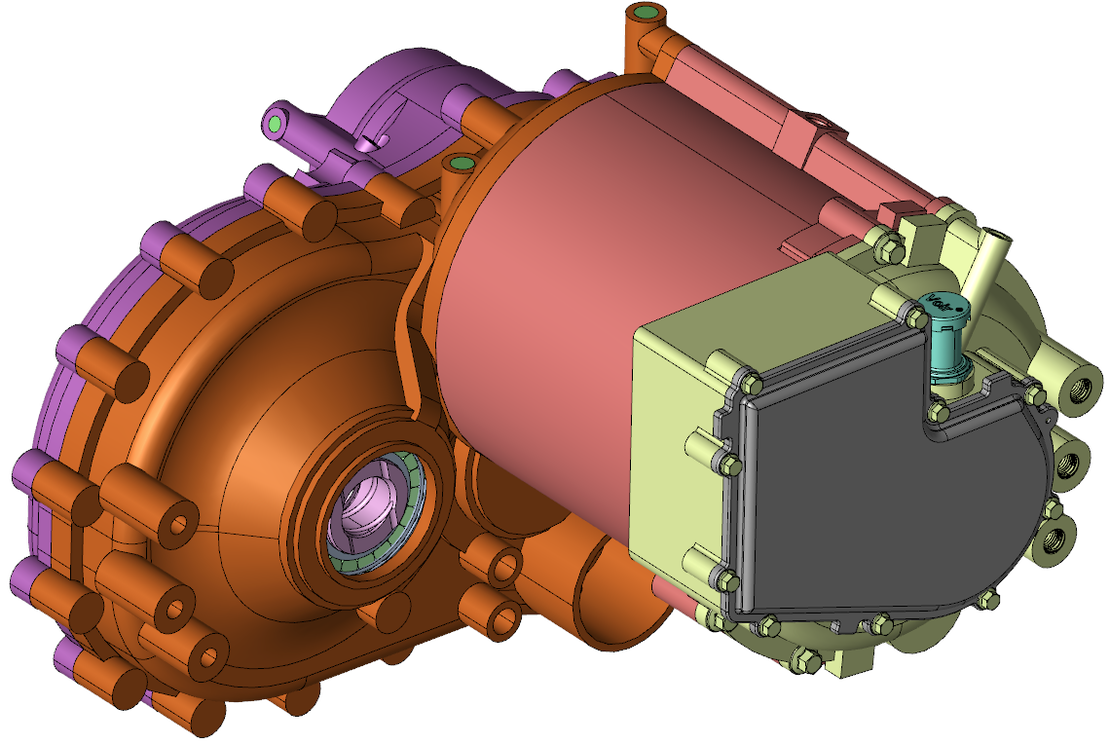
After the import is completed, the model tree panel will display the model objects, which are contained in the file. The geometry is visualized in the 3D scene.

Using the defeature tool
For the defeatureing tool, the lower part of the casing model is used as an example. This part is highlighted in the previous image. In this region, the geometry contains many features, e.g. holes. Considering a potential subsequent simulation, these features might have low significance, contributing mainly to the simulation’s complexity and consequently increasing the simulation time. Therefore, the fearures can be removed:

In the “smart selection” panel, you can choose the desired feature attributes and swiftly select them (1). Subsequently, utilizing the “defeature” function allows for the efficient cleaning of the selected parts (2). The outcome of the defeatured process is visible in the following image:

Grouping boundaries
Before generating the mesh, users have the option to set boundary groups on the geometry. These group assignments are automatically labeled onto the mesh elements during mesh partitioning. In the subsequent simulation process, users can define different boundary conditions on these boundary groups.
To set up these groups, users can select the “Face Patch” function (1) in the modeling menu bar. This allows users to choose one or more surfaces on the model and add them to a group (2). In the final step, the grouped patches can be named (3). The group information can be later viewed in the property panel when the model is selected.

Mesh generation
To create a surface mesh, users can utilize the ‘Surface Mesh Generation’ function in the mesh menu. Surface mesh generation supports both global and local mesh parameter settings, allowing users to customize the size of the desired mesh and apply geometrically relevant constraints. After generating the triangular surface mesh, users can proceed to the ‘Volume Mesh Generation’ function in the mesh menu bar. This function, based on parameters inferred from the surface mesh, typically yields a high-quality tetrahedral mesh.

Mesh export
Finally, select the “Mesh Export” function in the mesh menu bar. Choose the desired mesh format and unit for export.